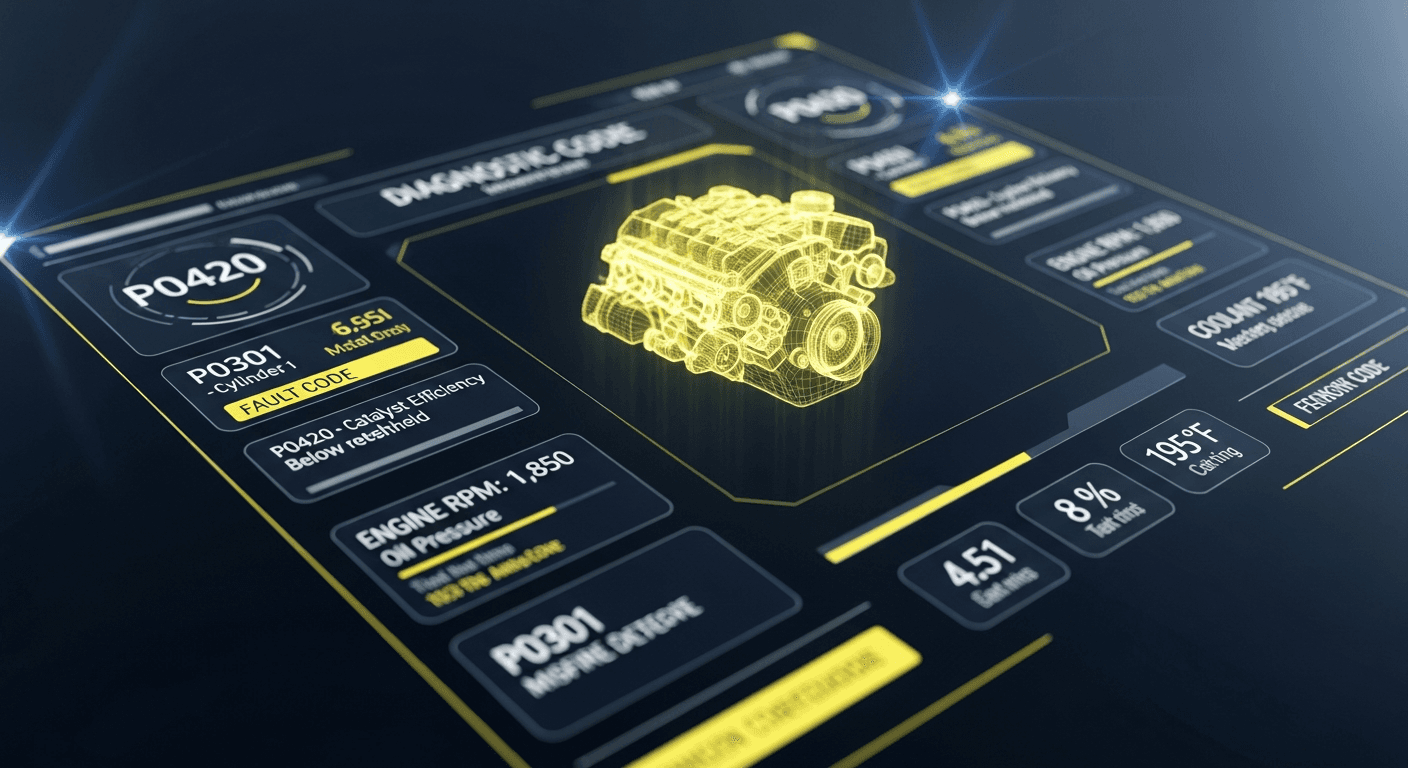
Parasitic Battery Drain: The Complete OEM Schematic Diagnosis Method
Stop replacing parts that won't fix the problem. Use this systematic, OEM-data-backed method to find and fix parasitic battery drains on any modern vehicle.
When the Battery Is Good but Still Goes Flat
A customer returns their vehicle to your workshop three times in four months. Each time, they describe the same symptom: a flat battery after the car sits overnight. You have load-tested the battery (good), tested the alternator (good), and told the customer the vehicle is fine.
The fault is almost certainly a parasitic battery drain — an electrical consumer that remains active after the vehicle is switched off and all modules have entered sleep mode. It is one of the most time-consuming faults in modern automotive diagnosis, and one of the most frequently misdiagnosed.
This guide gives you the complete OEM schematic-based method for finding it every time.
Understanding Normal Current Draw After Ignition-Off
On a modern vehicle, turning the ignition off does not immediately shut down all electrical systems. A carefully choreographed module sleep sequence occurs:
- The Body Control Module (BCM) manages the sleep sequence
- Infotainment, climate, and comfort modules enter low-power mode
- CAN bus traffic reduces from constant communication to periodic "heartbeat" pings
- Alarm sensors, keyless entry receivers, and telematics units enter ultra-low-power states
This process typically takes 10–40 minutes depending on vehicle make and specification. During this window, current draw can be 100–400 milliamps, even on a healthy vehicle.
Critical mistake: Many technicians connect their ammeter immediately after ignition-off and read a high draw, incorrectly diagnosing a fault. You must always wait for modules to sleep before measuring.
Step-by-Step Parasitic Draw Diagnosis
Step 1: Preliminary Checks
Before beginning the drain measurement:
- Battery health test: A battery at 60% state of health will self-discharge regardless of parasitic draw. Replace weak batteries first.
- Review customer timeline: Has anything recently changed? New accessories installed? Recent workshop visit? Recent accident? Software update?
- Check for DTCs: Often a U-code indicating a module waking repeatedly or failing to sleep will point directly to the culprit circuit.
Step 2: Set Up the Measurement Circuit
You need to measure current flow in series with the battery negative terminal:
- Connect a quality digital ammeter (capable of 10A measurement with milliamp resolution) in series between the negative cable and the battery terminal.
- Important: Do not open any doors or activate any switches during measurement — this wakes modules and resets the sleep timer.
- Wait 20–45 minutes for all modules to sleep (check your OEM data for the specific vehicle's sleep timeout — this varies significantly by manufacturer).
Normal draw after sleep: 5–30 milliamps. Most manufacturers specify 25–30 mA maximum at rest. Readings above 50 mA warrant investigation.
Step 3: The Fuse Pull Method
Once you have confirmed an abnormal draw, begin systematically removing fuses while monitoring your ammeter:
- Pull one fuse at a time — both from the under-bonnet fuse box and the interior/dashboard fuse box
- When the current draw drops to normal, you have identified the fused circuit containing the fault
- Replace the fuse before pulling the next one
Step 4: Consulting the OEM Wiring Diagram
This is the step that transforms a frustrating hours-long search into a systematic 30-minute diagnosis. Once you have identified the faulted fuse circuit:
- Log into Auto Fix Data and pull up the wiring diagram for the affected circuit
- Identify every component on that circuit: every module, relay, switch, and connector
- Systematically unplug each component one at a time while monitoring the ammeter
- When current drops to normal after unplugging a specific component, that component is either:
- Failing internally (drawing current it shouldn't)
- Not entering sleep mode due to a software fault
- Being kept awake by another module sending it incorrect signals
Step 5: Component-Level Testing
Once isolated to a specific component:
- Modules: Check for DTCs related to that module; check for pending TSBs (many parasitic draw issues on specific model years have published fixes including software updates — check ALLDATA's TSB database)
- Physical components (relays, motors): Measure resistance to check for internal short
- Aftermarket accessories: Aftermarket alarm systems, tracking units, and dashcams are extremely common sources of parasitic drain on vehicles that had none before installation
The Most Common Parasitic Drain Culprits by Make
| Make | Common Fault | Typical Draw | Resolution | |---|---|---|---| | Ford (2015-2020) | SYNC 3 module not sleeping | 200–350 mA | APIM software update (TSB available in ALLDATA) | | BMW (F30/F32) | Comfort access antenna module | 150–250 mA | Module replacement or OTA update | | VW/Audi (2010-2018) | Gateway module (J533) | 100–200 mA | Software update via VCDS/ODIS | | Mercedes-Benz (W205) | Rear SAM module | 80–180 mA | Replace SAM, check for water ingress | | Peugeot/Citroën | BSI module | 120–260 mA | BSI reset procedure (AutoData) |
The Role of Technical Service Bulletins in Drain Diagnosis
TSBs are manufacturer-issued notices that document known issues and their prescribed repairs. For parasitic drain faults, TSBs are invaluable because many drain issues are software-related — a module that never enters sleep mode due to a firmware defect.
Before beginning any component-level replacement work on a parasitic drain fault:
- Search the ALLDATA TSB database for the vehicle make, model, and year
- Filter for TSBs containing "battery", "drain", "parasitic", or "sleep"
- Check the date of any TSBs against any software update history for the vehicle
A 15-minute TSB search has prevented unnecessary module replacements costing £300–£1,200 on numerous occasions.
External Resources
- ScannerDanner — Parasitic Draw Diagnosis — Detailed real-world drain diagnosis procedures
- NHTSA TSB Search — US-spec TSBs searchable by VIN
- Battery Council International — Battery testing standards and procedures
Internal Resources
- ALLDATA Database — TSB and OEM wiring diagram access
- AutoData by Solera — European vehicle sleep procedure data
- Wiring Diagrams Hub — Circuit-by-circuit reference
- Diagnostic Fault Codes — Cross-reference DTCs with network sleep codes
Conclusion
Parasitic battery drain diagnosis is a systematic process, not a guess. Every fault has a logical cause, and every cause is traceable using OEM wiring data and a methodical approach. The technicians who resolve these faults quickly are not luckier — they are better equipped with data.
Access complete OEM wiring diagrams and TSB databases with a 7-day free trial of Auto Fix Data — no credit card required.
Access All 5 Repair Databases Now
Get ALLDATA, AutoData, HaynesPro, Mitchell1 & Identifix in one subscription. 7-day free trial.
Start Free Trial — No Credit CardRelated Articles
Best Mitchell1 Alternative for Independent Workshops in 2026
Looking for the best Mitchell1 ProDemand alternative in 2026? We review the top options for independent workshops that need OEM data, wiring diagrams, and confirmed fixes at lower cost.
ADAS Calibration Cost UK – Complete Pricing Guide 2026
How much does ADAS calibration cost in the UK in 2026? This guide breaks down static and dynamic calibration pricing, which vehicles need it, and how to access OEM calibration data.

The Ultimate Guide to OEM Wiring Diagrams in 2024
A complete walkthrough for automotive technicians on how to access, read, and use OEM wiring diagrams to diagnose modern vehicles faster and with confidence.